How HVAC Contractors Can Handle Ductwork Problems During System Replacement
A practical field guide for identifying duct issues early, presenting options clearly, and protecting system performance on replacement jobs.
Many replacement jobs begin with a simple conversation about old equipment, energy bills, hot and cold rooms, or a system that no longer keeps up. Then the crew gets into the attic, crawlspace, basement, or mechanical room and discovers the real issue is not just the air handler or condenser. It is the duct system around it.
For contractors, ductwork problems during HVAC replacement can turn a straightforward install into a difficult project if they are discovered too late or explained poorly. Undersized returns, crushed flex, leaky boots, damaged insulation, bad transitions, unsupported runs, and makeshift fittings can all limit the performance of the new equipment. If those issues are ignored, the homeowner may blame the replacement system for comfort problems that were built into the duct layout years ago.
The good news is that most duct-related replacement issues can be managed with a disciplined process. Inspect early, document what you find, explain how airflow affects performance, and present repair or replacement options in a way the homeowner can understand. The goal is not to oversell ductwork. The goal is to make sure the equipment you install has a fair chance to operate as intended.
This guide walks through practical ways contractors can identify and address ductwork concerns during system replacement projects, from the first site visit to final startup and homeowner handoff.
On replacement work, duct problems do not need to become sales pressure points. They should be treated as performance issues that affect airflow, comfort, noise, efficiency, and equipment longevity.
Inspect the duct system before you lock in scope
If your replacement process focuses only on matching tonnage and swapping equipment, you increase the chance of callback risk. A visual duct inspection should be part of the estimating workflow whenever access is available. Even a short inspection can reveal whether the duct system is likely to support the new installation or create problems later.
Start at the air handler, furnace, or package unit connection points. Look at the supply plenum, return drop, filter location, transitions, branch takeoffs, dampers, and visible insulation. Pay attention to field-fabricated modifications that may have been added over time. Older systems often have patched sections, disconnected runs, blocked returns, or transitions that were never sized well in the first place.
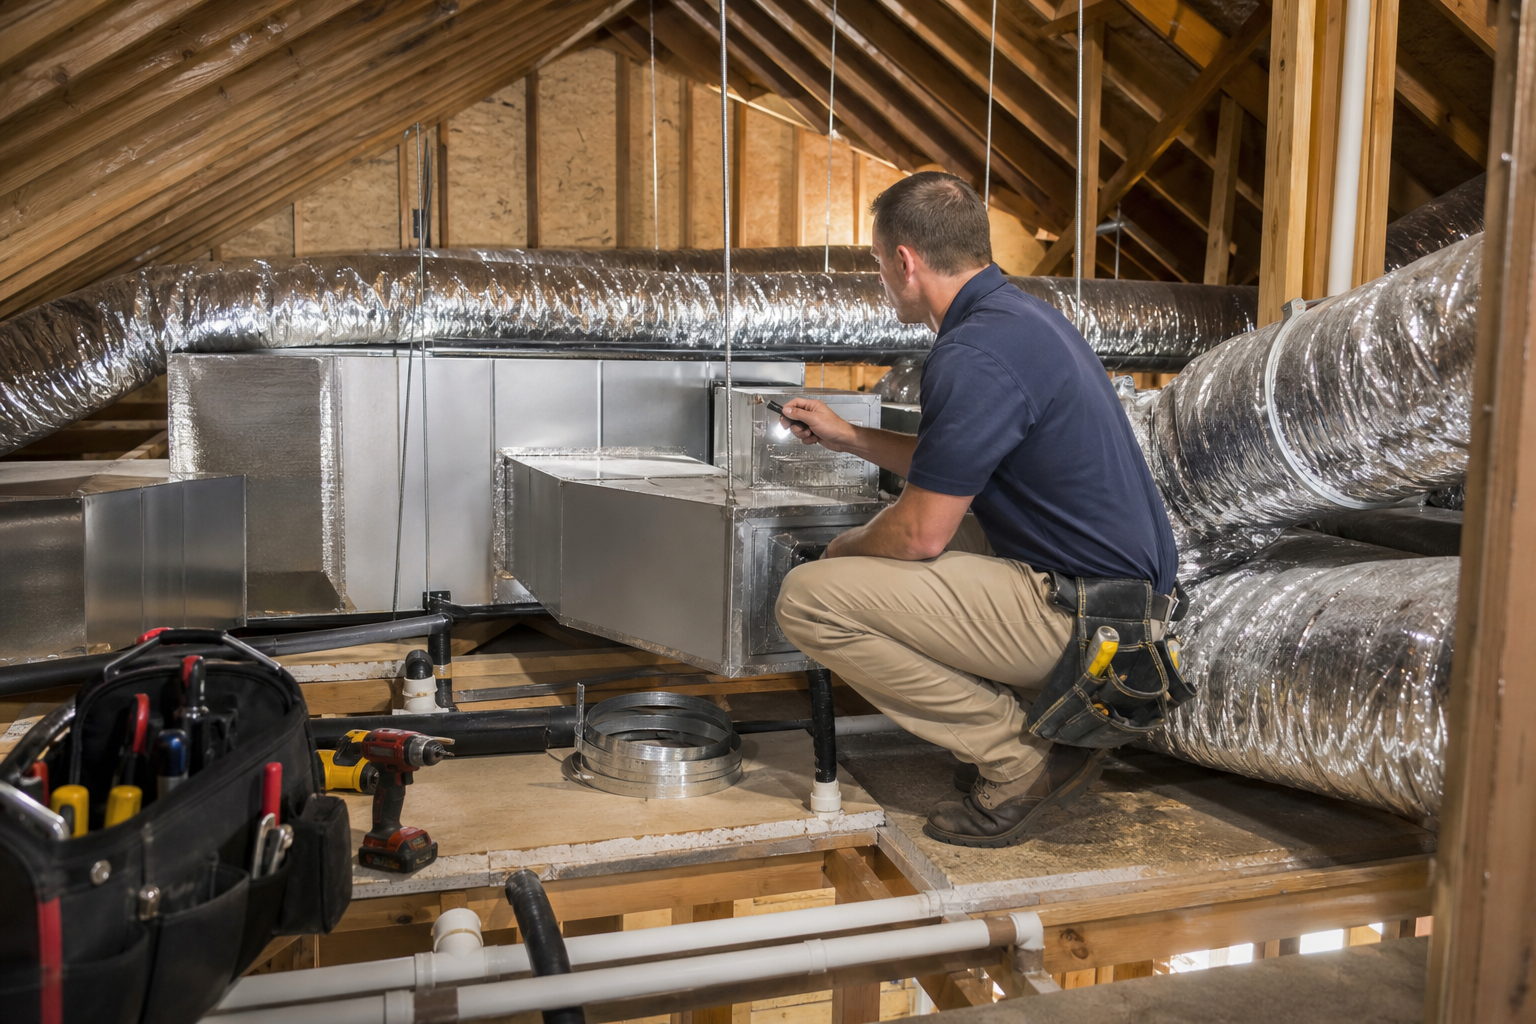
Then move through accessible duct runs. In attics, check for crushed flex, long unsupported spans, kinks at connections, torn insulation jackets, disconnected boots, and signs of air leakage around joints. In crawlspaces or basements, check metal trunks for separation, corrosion, poor sealing, or old branch lines that no longer match the current room layout. In finished spaces, visible clues like dusty ceiling marks, weak airflow at registers, or homeowner complaints about certain rooms can point to hidden duct problems.
Where your process allows, static pressure readings and temperature observations can add useful context. You do not need to turn every estimate into a full forensic analysis, but basic measurements can help you distinguish between a cosmetic issue and a system-limiting one. If local requirements vary or additional testing is needed, say so clearly and build the next step into the proposal process.
- Inspect supply and return connections at the equipment.
- Check accessible duct runs for damage, sagging, kinks, and disconnections.
- Look for missing or deteriorated insulation in unconditioned spaces.
- Note filter location, return size, and any obvious airflow restrictions.
- Document room comfort complaints and compare them to duct layout.
- Take photos of major issues to support your recommendations.
One of the easiest ways to avoid conflict later is to make the inspection visible to the customer. If the homeowner sees that you actually looked at the duct system and are not just trying to add work, your recommendations carry more credibility.
Know which duct problems affect replacement jobs most
Not every duct defect has the same impact. Contractors need to separate minor cleanup items from issues that directly affect how the new system will perform. The highest-priority problems usually involve airflow, leakage, and compatibility with the new equipment connection.
Undersized return air is one of the most common causes of replacement trouble. A new blower can only move what the duct system allows. If the return path is too small, heavily restricted, or filtered at a choke point, the homeowner may notice noise, weak room delivery, comfort swings, or poor dehumidification. In heat pump or high-efficiency applications, restricted airflow can create even more noticeable performance issues.
Leaking ducts are another major concern. A supply leak in an attic or crawlspace wastes conditioned air before it reaches the living space. A return leak can pull in hot, cold, dusty, or humid air from unconditioned areas. During replacement, existing leakage often becomes more noticeable because the new system may deliver airflow differently than the old one. What the customer hears as, the new unit does not feel right, may actually be a duct leakage problem that was hidden for years.
Flex duct installation quality matters too. Long runs with too many turns, excessive sagging, compressed insulation, or sharp bends near boots can rob airflow quickly. The same is true for poorly designed transitions at the equipment. A new air handler tied into an awkward return drop or an undersized supply plenum may never deliver balanced airflow, even if the equipment itself is installed correctly.
Other recurring issues include missing balancing dampers, abandoned branches, room additions tied in without recalculating airflow, undersized filter grilles, and supply registers that were selected for appearance rather than air distribution. These are the details that separate a quiet, comfortable replacement from a job that generates a list of comfort complaints after startup.
Contractors should also watch for deteriorated duct insulation and vapor barriers in unconditioned spaces. Even if airflow is acceptable, damaged insulation can contribute to energy loss, condensation concerns, and homeowner dissatisfaction. Local requirements vary, so insulation recommendations should be framed around performance and jobsite conditions rather than one-size-fits-all claims.
Decide when ductwork should be repaired or replaced
Once you identify duct issues, the next question is whether to recommend targeted repair or broader replacement. Homeowners often assume these are all-or-nothing decisions, but many successful projects fall in between. The contractor’s job is to define the practical options.
Repair may be the right recommendation when the overall duct layout is workable and the problems are limited to specific sections. Examples include resealing accessible joints, replacing a damaged flex branch, rebuilding a poor transition, adding support straps, insulating exposed sections, or correcting a disconnected boot. These repairs can materially improve system performance without turning the project into a full duct replacement.
Partial replacement is often a strong middle-ground solution. If the main trunk is sound but the return drop is undersized, you may recommend replacing the return path and correcting filtration while leaving much of the supply side in place. If one area of the house consistently struggles, selected branch modifications or zoning-related corrections may solve the real problem more effectively than replacing every run.
Full replacement should be considered when the duct system is broadly deteriorated, badly undersized, poorly laid out, or incompatible with the replacement equipment. If the system has multiple disconnected runs, chronic leakage, extensive physical damage, major airflow restrictions, or a patchwork of additions that no longer make sense, piecemeal repairs may not be the best long-term path. In those cases, replacement can be easier to explain when it is framed as a performance foundation for the equipment, not an upsell.
It helps to present recommendations in tiers. Give the homeowner a best-practice option, a focused correction option, and a minimum option when appropriate. Be clear about what each level is intended to solve and what limitations remain. That keeps the conversation practical and allows customers to make informed decisions without feeling cornered.
- Recommend repair when defects are localized and the overall layout still works.
- Recommend partial replacement when a major section limits performance but other sections remain serviceable.
- Recommend full replacement when the system is widely damaged, undersized, or fundamentally mismatched.
- Explain what each option improves and what it does not address.
- Document any customer decision to keep existing ducts with known limitations.
One important discipline is to avoid promising that duct modifications will solve every comfort issue in the home. Room loads, insulation, windows, occupancy patterns, and building leakage all play a role. Keep your recommendations specific to the duct conditions you can observe and the airflow problems you can reasonably address.
Explain duct issues in plain language
Many homeowners understand when equipment is old or broken. Fewer understand why ductwork matters so much on a replacement project. That is where contractor communication makes a real difference.
Avoid leading with technical jargon. Start with the simple principle that the equipment is only one part of the comfort system, and the ducts are what deliver the air. If those ducts are leaking, too small, damaged, or poorly connected, the new system cannot distribute air the way it should. That message is easier for homeowners to grasp than a lecture on static pressure or velocity.
Photos are one of your best tools. Show the customer the crushed flex run, the unsealed return connection, the sagging branch, or the undersized filter grille. Explain what that condition means in practical terms: less airflow to a room, extra noise, uneven temperatures, or conditioned air lost into the attic. Visual evidence removes a lot of friction from the sales conversation.
It also helps to separate must-address items from recommended improvements. If a plenum connection needs to be rebuilt to complete the replacement properly, say that clearly. If another recommendation is about improving a room that has always been uncomfortable, present it as an option with expected benefits, not as a hidden requirement.
When a homeowner declines duct upgrades, document the decision in plain language. Note that the new equipment will be connected to existing ductwork, and that existing duct limitations may affect airflow, comfort, or noise. That protects expectations without sounding defensive.
The most effective duct conversations are specific. Instead of saying the ductwork is bad, point to the exact issue, explain the likely effect, and tie your recommendation to a visible correction.
Contractors who communicate this way usually see better close rates on legitimate duct corrections and fewer misunderstandings after the install. Customers do not need a technical seminar. They need a clear explanation of what you found, why it matters, and what you can do about it.
Coordinate duct details with equipment selection and installation
Once duct issues are identified and the scope is approved, the installation plan should reflect those details from the start. Too many duct corrections are treated as side tasks for the install crew, which leads to rushed transitions, field improvisation, and startup issues.
Begin with connection planning. Make sure the supply and return interfaces for the new equipment are sized and laid out in a way that supports airflow. If a new furnace, coil, or air handler changes cabinet dimensions, the plenum and drop may need to be rebuilt rather than adapted with a series of abrupt fittings. Good transitions are rarely the most visible part of the install, but they are often the difference between quiet operation and avoidable turbulence.
Filter strategy should also be addressed before installation day. If the existing filter location is too restrictive or difficult for the homeowner to access, replacement time is a smart moment to correct it. Better service access and a sensible filter setup improve both performance and long-term maintenance.
Return air deserves special attention. Contractors often focus on supply delivery because it is easier to picture, but poor return design can undermine the whole system. If adding return capacity is part of the approved scope, coordinate grille locations, framing constraints, and finish expectations early. In occupied homes, clean communication around access, dust control, and patching responsibilities matters just as much as the duct modification itself.
Balancing should not be an afterthought either. If dampers exist, confirm they are usable and accessible. If branch changes are being made, think through how rooms will be adjusted during startup. A replacement job that includes duct corrections should end with airflow verification, not just refrigerant checks and thermostat setup.
On retrofit work, field conditions may force changes. Framing, low clearances, electrical conflicts, and inaccessible wall cavities can all limit what is practical. When that happens, bring the customer into the conversation early, explain what changed, and revise the recommendation honestly. Local requirements vary, and some modifications may need to follow jurisdiction-specific standards or inspections.
Document recommendations and close out the job well
Strong documentation helps at every stage of a replacement project involving ductwork. During the estimate, it supports the sales conversation. During installation, it helps the crew understand the approved scope. After completion, it gives the homeowner a record of what was changed and what existing conditions, if any, remain.
Include notes, photos, and simple descriptions in the job file. If the project includes duct sealing, transition rebuilds, return upgrades, branch replacement, or insulation repairs, list them specifically on the proposal and invoice. Vague wording creates confusion later.
At startup and walkthrough, connect the work performed to the homeowner’s original concerns. If one room had weak airflow and you rebuilt a branch run, explain that. If the return path was restrictive and you enlarged it, explain how that supports overall operation. This is also the right time to mention anything that was not addressed because it fell outside the approved scope.
For contractors, a clean close-out can reduce callbacks significantly. Homeowners are far more patient with a system when they understand what was fixed, what remains unchanged, and what results to expect. If further balancing or follow-up is appropriate after occupancy patterns normalize, say so plainly.
A practical close-out process should include the following items.
- Review completed duct corrections with the homeowner.
- Share before-and-after photos when available.
- Note any retained duct limitations in writing.
- Confirm filter access and replacement basics.
- Explain what comfort improvements were targeted.
- Set expectations for any additional follow-up if needed.
Replacement jobs are often judged not just by how the equipment looks, but by whether the house feels better afterward. Good duct documentation and close-out communication help make that outcome more likely.
Frequently Asked Questions
Should contractors always recommend new ductwork with new HVAC equipment?
No. Some existing duct systems are serviceable and only need minor corrections. The right recommendation depends on condition, layout, airflow, leakage, insulation, and compatibility with the replacement equipment.
What is the biggest duct issue on replacement jobs?
It varies, but return air restrictions, duct leakage, poor transitions, and damaged flex duct are common problems that affect comfort and system performance right away.
How can contractors justify duct repairs to skeptical homeowners?
Use photos, point out specific defects, and explain the practical effect on airflow, noise, comfort, or system operation. Clear evidence usually works better than technical language alone.
Is partial duct replacement a reasonable option?
Yes. In many homes, replacing a return drop, rebuilding a plenum, or correcting selected branch runs can deliver meaningful improvement without replacing the entire duct system.
What if the homeowner refuses recommended duct corrections?
Complete the approved scope if it is still feasible, but document that the new equipment is being connected to existing ductwork with known limitations. Clear written expectations help prevent misunderstandings later.
Final thoughts
Ductwork problems during HVAC replacement are common, but they do not need to derail the job. Contractors who inspect early, prioritize the most important airflow issues, and communicate in clear language can turn duct concerns into a better installation process rather than a last-minute surprise.
The core principle is simple: replacement equipment should not be treated as a standalone box swap when the air distribution system around it is failing or mismatched. By addressing duct issues honestly and practically, you improve performance, reduce callbacks, and build more trust with homeowners.
Every house is different, and local requirements vary. But in nearly every market, contractors who manage duct details well stand out from crews that only replace equipment and hope the existing duct system will cooperate.
Join the HVAC Installer Network
Create an installer listing to help homeowners discover your business, learn about your services, view your company information, and connect with you about installation opportunities in your service area.
This article is for general informational purposes only. Installation methods, code obligations, testing practices, and permit or inspection requirements vary by location and project conditions. Contractors should follow manufacturer instructions, applicable codes, and local authority requirements when evaluating or modifying duct systems during HVAC replacement.