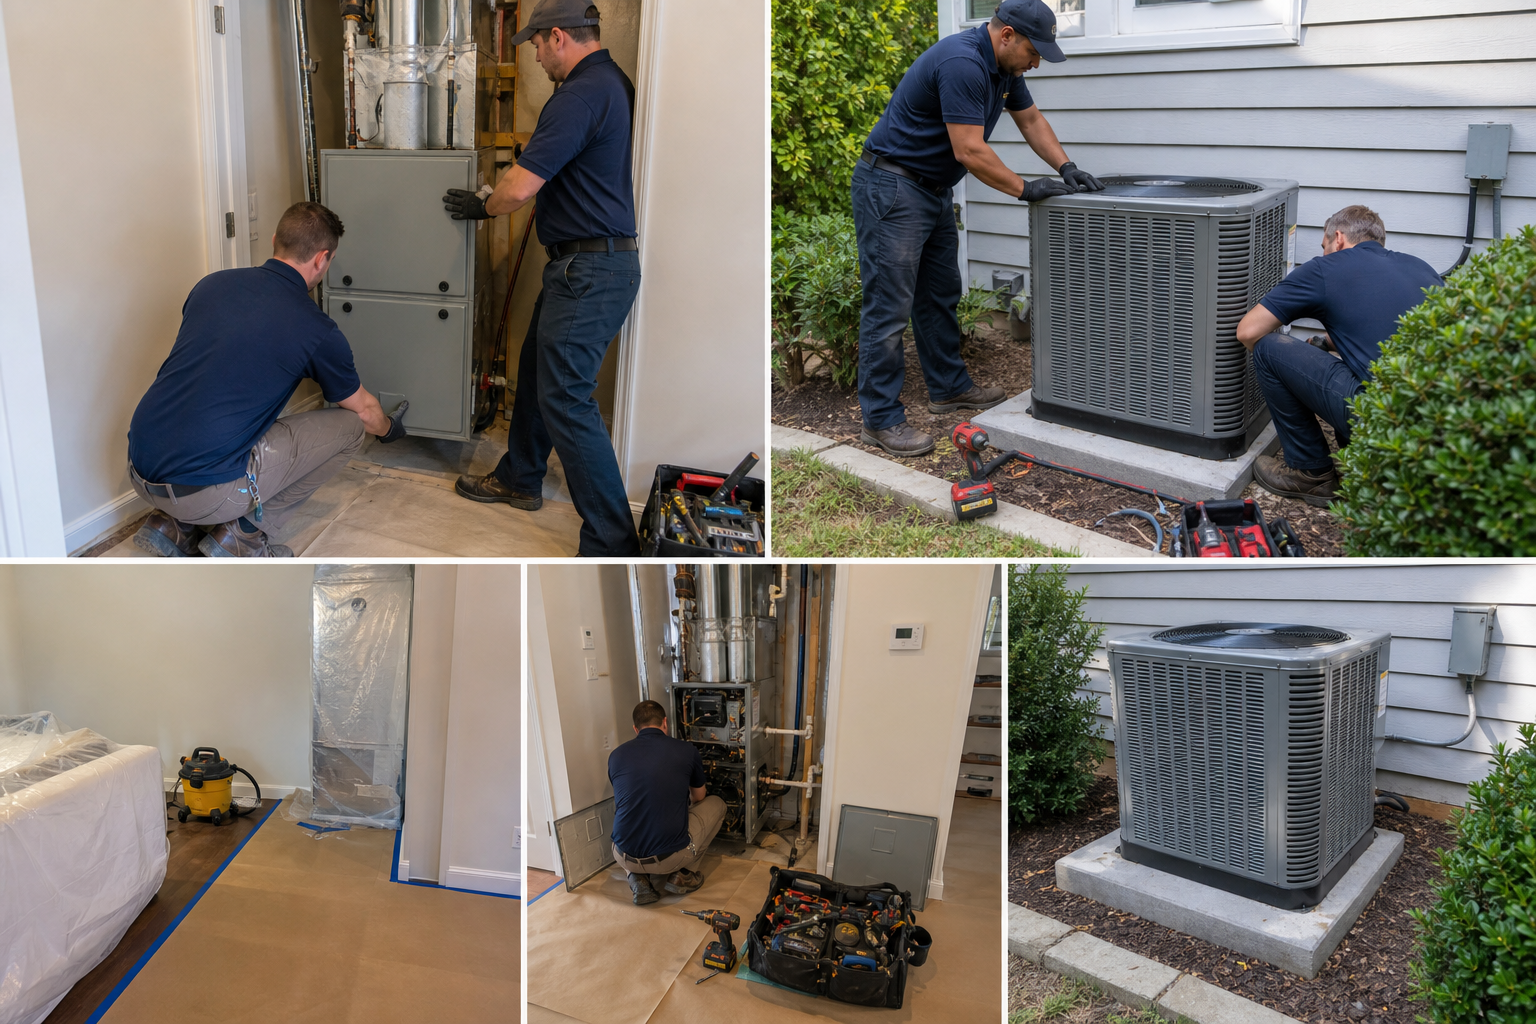
How HVAC Contractors Can Set Expectations for a Two-Day System Replacement
A practical framework for explaining timeline, access, disruption, testing, and final handoff when a residential HVAC replacement is likely to take more than one day.
Some system replacements fit neatly into a single day, but plenty do not. Once line set work, electrical upgrades, drain corrections, duct transitions, attic access, zoning details, or equipment relocation enter the picture, a two-day project becomes the more realistic path. For contractors, that timeline is not the problem. The problem is when the homeowner expected a one-day install and only learns otherwise after the job starts.
The best way to prevent frustration is to set expectations early and repeat them often. Homeowners usually tolerate inconvenience when they understand why the work takes time, what will happen each day, and what the finished result should look like. They become anxious when they see partial work, open panels, disconnected thermostats, or a crew leaving before the system is fully running and nobody has explained the plan.
This article gives contractors a practical way to talk through a two-day HVAC system replacement before installation day arrives. The goal is simple: reduce avoidable surprises, improve customer confidence, and protect your schedule by making sure the homeowner knows what to expect from arrival to final walkthrough.
Practical rule: if your team already knows the job includes enough unknowns that rushing would compromise quality, present it as a two-day project from the beginning. Homeowners usually respond better to a realistic plan than to an optimistic promise that changes later.
When should you tell the homeowner the project will likely take two days?
You should say it as early as the sales and scoping stage, not the night before installation. If your estimator, comfort advisor, or project manager sees anything suggesting additional labor, explain that a two-day HVAC system replacement is the expected plan unless field conditions prove otherwise. That way the homeowner arranges access, pets, work-from-home schedules, and sleeping comfort around the real timeline.
Contractors sometimes avoid the two-day conversation because they worry it sounds less attractive than a one-day install. In practice, homeowners are more concerned with predictability than speed alone. A calm explanation such as, “We want enough time to complete the job cleanly, make the transitions correctly, pressure test, evacuate, start up, and verify performance,” positions the second day as part of quality control rather than delay.
This early conversation also helps your internal team. Install coordinators can schedule equipment delivery, electricians, helpers, crane work, or permit-related steps with less confusion. Even when local requirements vary, the homeowner will appreciate hearing that inspections, access rules, utility shutoffs, or related trade work can affect timing and that your office will keep them updated if the schedule changes.
It also helps to distinguish between “two calendar days” and “two full days of active work.” Sometimes your crew will finish the bulk of the install on the first day, leave the site orderly overnight, and return the next morning for startup details, controls, balancing, sealing, cleanup, and walkthrough. That still counts as a two-day project in the customer’s eyes, so name it that way.
What should you explain about the scope before the install starts?
Homeowners do not need every technical detail, but they do need a clear picture of what is being replaced, what is being modified, and what might require adjustment once the old equipment is removed. A confident pre-install explanation reduces the chance that normal field decisions will feel like unexpected add-ons or confusion.
Start with the basic equipment path. Explain whether your team is replacing the outdoor unit, indoor coil, furnace or air handler, thermostat, pad, line set, disconnect, drain components, transitions, filter base, or accessories such as humidification, UV, or zoning controls. If any existing component is planned to stay in place, say so directly. If any component may need replacement depending on condition or code-related field findings, say that too and note that local requirements vary.
Then explain where labor time goes. Homeowners often think replacement means swapping one box for another in the same footprint. In reality, crews may need to recover refrigerant, remove old equipment safely, rebuild sheet metal transitions, resize return or supply connections, correct pitch on drains, reroute wiring, upgrade safety switches, seal cabinet gaps, and make space serviceable for future maintenance. These tasks are not “extras” in the homeowner’s mind once they understand they are part of a proper installation.
It is also useful to discuss unknowns honestly. Hidden duct defects, platform issues, water damage, brittle line hide components, tight clearances, previous workmanship problems, and difficult equipment removal paths can all extend labor. You do not need to sound alarmist. Instead, say that opening the system may reveal conditions that were not fully visible during the estimate and that your team will review any meaningful changes before proceeding.
- Identify exactly which major components are included in the replacement.
- Explain what supporting items may be modified, such as drain piping, electrical connections, transitions, and controls.
- Clarify which existing items will remain in place if they are not part of the scope.
- Note that concealed conditions can affect labor once old equipment is removed.
- Remind the homeowner that local requirements vary for permits, inspections, and related trade work.
How do you explain what happens on day one?
Day one should be described as demolition, setup, major equipment placement, and rough completion of key connections. The homeowner does not need minute-by-minute scheduling, but they do need to know that the system may be unavailable for a significant part of the day and may not be fully operational by the time the crew leaves if the project is intentionally staged over two days.
A simple explanation works well: your crew will protect the home, confirm equipment and scope, shut down utilities as needed, remove the old equipment, make structural or connection-related adjustments, and install the major new components. Depending on the job, day one may include setting the outdoor unit, positioning the furnace or air handler, installing the coil, connecting refrigerant lines, rebuilding drains, making sheet metal transitions, and completing a large portion of the electrical and control work.
Be explicit about disruption. There may be tool noise, open doors, attic traffic, trips in and out of the mechanical space, and periods when power to parts of the system area is off. If the thermostat is inactive for a while, say so ahead of time. If furniture needs temporary movement or access paths need to stay clear, include that in your confirmation call or pre-install checklist.
One of the most important expectation-setting steps is telling the homeowner what the house may look like at the end of the first day. The equipment may be physically installed but not fully commissioned. Panels may be closed, but startup may wait until pressure testing, evacuation, final wiring verification, drain checks, condensate safety confirmation, and thermostat programming are completed. If the system will not run overnight, say that clearly before the job starts. If temporary operation is possible, explain whether you plan to provide it and under what conditions.
When contractors skip this conversation, homeowners may assume the crew left early or that something went wrong. When contractors explain the logic, the same overnight pause feels normal and professional. The message should be: we are not leaving the job unfinished because we are careless; we are staging the work so we can complete it correctly.
How do you explain what happens on day two?
Day two is where you frame the value of not rushing. Homeowners often see startup as flipping a switch, but contractors know the second day may be where the most important quality checks happen. Tell the homeowner that day two is for final connections, deep verification, startup, adjustment, cleanup, and education.
Depending on the project, your team may complete brazing-related steps, pressure test the refrigerant circuit, evacuate the system, weigh in or verify charge according to equipment requirements, confirm electrical values, set airflow, test temperature performance, verify thermostat operation, check condensate management, seal and insulate exposed areas, tidy wiring, and complete finishing details around the equipment. If accessories are involved, this is often the stage where they are configured and tested.
Explain that some of the most professional-looking work happens after the major equipment is already in place. Homeowners may not notice the difference between a hurried startup and a measured one unless you tell them what your team is checking. A short explanation builds trust: “The second day is when we verify the system is not just installed, but operating the way it should.”
It is also helpful to prepare the homeowner for punch-list items. Small finish details can remain even after the system is cooling or heating. That might include labeling, additional sealing, trim adjustments, debris removal from a difficult path, or documenting model and serial information for your files. Presenting this as part of a normal closeout process keeps the final few tasks from feeling like loose ends.
What site conditions and access issues should homeowners understand?
Many two-day installations are driven as much by the house as by the equipment. Tight attic openings, crawlspace limitations, finished basements, rooftop access, long line set runs, parking restrictions, historic neighborhoods, condo rules, and difficult equipment removal paths can all slow the work. Homeowners usually understand these challenges once someone explains them plainly.
Before installation, tell the homeowner what your team needs for access. That may include clear routes from entry door to work area, driveway space, unlocked gates, attic hatch access, room around the thermostat, and enough clearance near electrical panels and condensers. If pets must be secured or children kept away from work zones, mention that directly and respectfully.
You should also talk about housekeeping standards. Let them know whether your team uses floor protection, shoe covers, drop cloths, tool staging mats, or debris collection methods. For a two-day project, explain what remains on site overnight. Homeowners feel better when they know whether equipment boxes, recovery machines, ladders, or partially installed components will stay in a contained area until the crew returns.
Noise and comfort are another major expectation point. If the home will be without cooling or heating overnight, say so with enough notice for the homeowner to make a plan. If weather conditions may make that uncomfortable, discuss scheduling options and whether a different installation date would better serve the customer. Avoid making promises you cannot guarantee, especially if local requirements vary or outside trade coordination could affect timing.
| Expectation Area | What to Explain |
| Access | Which rooms, doors, hatches, gates, and exterior work areas must stay open and clear. |
| Power and System Downtime | When the old system will be shut down and whether operation will resume the same day. |
| Noise and Activity | That there may be cutting, drilling, attic traffic, and repeated movement through the home. |
| Overnight Condition | What equipment, materials, or partially completed work will remain until day two. |
| Cleanup | How the site will be left at the end of each day and what final cleanup includes. |
How can contractors reduce anxiety during an unfinished overnight stage?
The simplest answer is communication. Homeowners can handle a lot when they know what is happening, but silence creates doubt fast. Before your crew leaves on day one, someone should speak with the homeowner in person and explain what was completed, what remains, whether the system will operate overnight, and what time the team expects to return.
This end-of-day conversation should be structured, not casual. Confirm that the home is safe, access points are secure, debris is contained, and the homeowner knows where not to touch equipment. If a thermostat is blank or temporary settings are in place, point that out. If a drain, electrical circuit, or disconnected accessory is mid-process, tell them it is intentional and will be completed on return.
Photos can help too, especially if the work area is in an attic, crawlspace, or basement that the homeowner rarely enters. A project manager or lead installer can show a few progress photos and say, “Here is where we are, and here is what we’ll finish in the morning.” That turns an abstract delay into visible progress.
Written recaps are even better. A short text or email from the office after day one can reduce after-hours calls. It can confirm return time, remind the homeowner of expected morning access, and summarize whether heat or cooling will be available overnight. Contractors who document this consistently often see fewer misunderstandings and better reviews because the customer feels guided rather than left wondering.
- Give an in-person day-one recap before leaving the site.
- State clearly whether the system will operate overnight.
- Explain what remains to be completed on day two.
- Leave the work area orderly and obviously intentional, not scattered.
- Send a short follow-up message with return time and next steps.
What should be included in the final walkthrough and handoff?
A two-day HVAC system replacement should end with more than a working thermostat. The handoff is where you prove the value of your process and make sure the homeowner knows what was completed. Even a strong install can feel incomplete if the final walkthrough is rushed.
Start by showing the homeowner the finished equipment areas. Point out the major components that were replaced and any visible workmanship items that matter, such as sealed transitions, drain improvements, service clearances, disconnect location, new pad, line insulation, or filter access. Keep the language plain and practical. You are not trying to impress them with jargon; you are helping them understand what they paid for.
Then cover operation. Show them thermostat basics, filter location, recommended maintenance intervals, condensate awareness, and any normal sounds or behaviors they should expect during operation. If the system includes staging, variable-speed behavior, zoning, dehumidification, or accessory controls, explain the homeowner-facing functions without turning the walkthrough into a technical seminar.
It is also smart to discuss what happens next. If permit closeout, inspection, accessory setup, or a minor return visit is still pending, say so clearly and explain the purpose. Avoid vague promises. Give the homeowner a concrete next step, even if the date depends on local scheduling because local requirements vary.
Finally, invite questions. A customer who hesitates in front of the crew may call the office later with avoidable concerns. Ask directly whether they want you to repeat thermostat steps, show the filter again, or explain any part of the installation. This is often the moment where a stressful two-day project turns into a positive experience because the homeowner sees that your team stayed engaged all the way through closeout.
The final walkthrough is not just courtesy. It is where expectation-setting becomes proof. If the homeowner can see what changed, understand how to use it, and know what happens next, the two-day timeline feels purposeful rather than prolonged.
Frequently Asked Questions
Is it a problem if a residential replacement takes two days instead of one?
Not necessarily. Many installations legitimately require more time because of access, duct transitions, controls, electrical work, drain corrections, testing, or other site-specific details. The key is explaining the timeline in advance so the homeowner understands that the schedule supports quality rather than signaling a problem.
Should contractors promise same-day completion whenever possible?
Only if the scope truly supports it. A rushed promise can create more customer frustration than a realistic two-day plan. It is usually better to underpromise and communicate clearly than to force a one-day target that pressures the crew and increases the chance of mistakes or callbacks.
How should we handle situations where hidden issues are found after equipment removal?
Explain before the job begins that concealed conditions can appear once the old system is removed. If something significant is discovered, pause, document it, show the homeowner, and review options in plain language before moving forward. That keeps the customer involved and prevents surprise at closeout.
What if the homeowner is worried about being without heating or cooling overnight?
Address that concern during scheduling, not late in the day after work begins. If overnight downtime is likely, say so clearly and discuss timing, weather, and comfort expectations. In some cases, rescheduling or changing the work plan may be the better service decision.
Do we need to discuss permits and inspections during expectation-setting?
Yes, at least in general terms. Let the homeowner know if permit or inspection steps may apply and that local requirements vary. Even when those steps are routine, mentioning them helps the customer understand why timing or return visits can be part of a professional installation process.
Final Thoughts
A two-day HVAC system replacement does not have to feel inconvenient, disorganized, or uncertain to the homeowner. In many cases, it is the right way to approach a more complex job. What determines the customer experience is not the calendar alone, but how well your company explains the scope, stages the work, communicates overnight status, and closes out the project.
For contractors, expectation-setting is operational discipline. It protects the crew from unrealistic pressure, gives the office a cleaner communication process, and helps the homeowner see the difference between a hurried install and a careful one. If your team can describe day one, day two, access needs, likely disruption, and final handoff in a straightforward way, you will avoid many of the misunderstandings that create callbacks and negative reviews.
The practical takeaway is simple: if the job looks like a two-day project, say so early, explain why, and keep the homeowner informed at every transition point. That is how you turn extra time on the schedule into added confidence in your work.
Join the HVAC Installer Network
Create an installer listing to help homeowners discover your business, learn about your services, view your company information, and connect with you about installation opportunities in your service area.
This article is for general informational purposes and is not legal, code, tax, or financial advice. Installation methods, permit needs, inspection processes, and other project requirements vary by equipment, property, and local jurisdiction. Contractors should follow manufacturer instructions, document project conditions, and confirm local requirements before beginning work.